Activity 17: Angular with TypeScript and data structures
Step-by-Step Guide for Implementing 50 Lists in Angular with TypeScript
This project involves creating a series of lists in Angular and managing them through an array. We'll start by setting up a basic Angular project and then implement 50 different lists, where each list will allow the user to add items dynamically. The steps below will guide you through the entire process.
Step 1: Set up the Angular project
Install Angular CLI (if not already installed):
npm install -g @angular/cli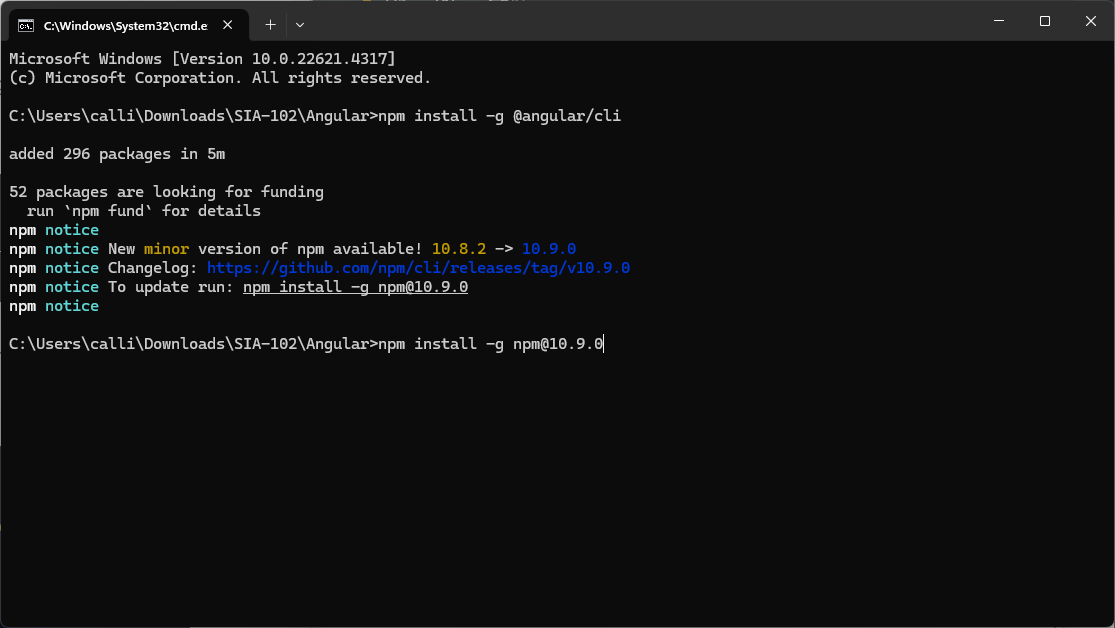
Create a new Angular project:
 ng new angular-app
 cd angular-app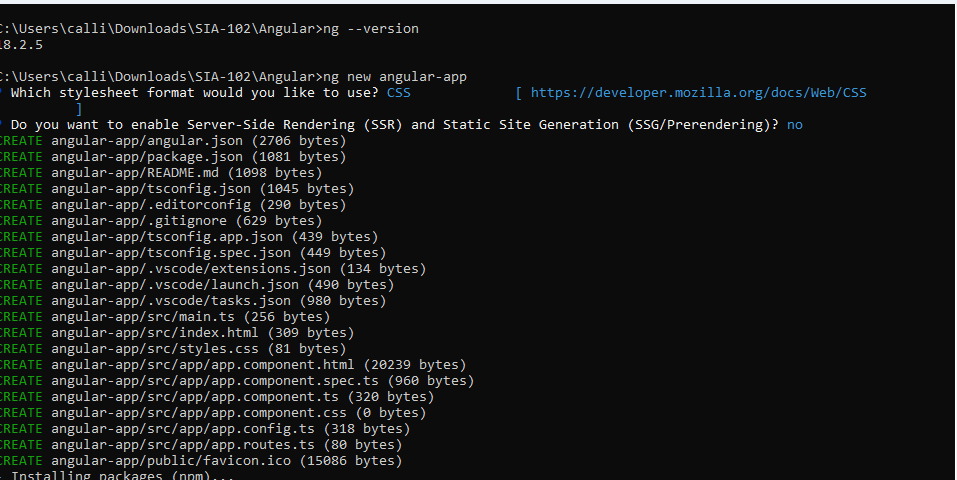
Install dependencies for the project (e.g.,
ngModel):npm install --save @angular/formsRun the development server to ensure everything works:
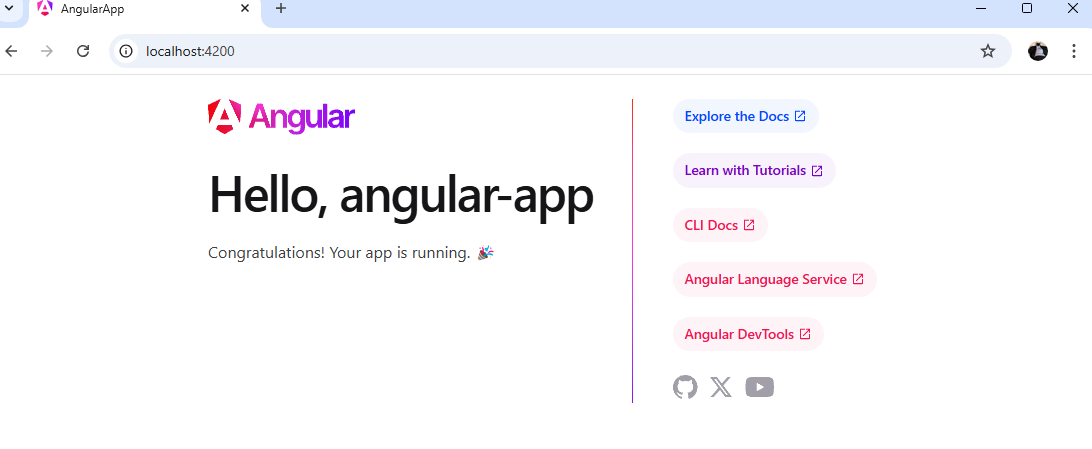
ng serveNavigate to
http://localhost:4200/in your browser to see the default page.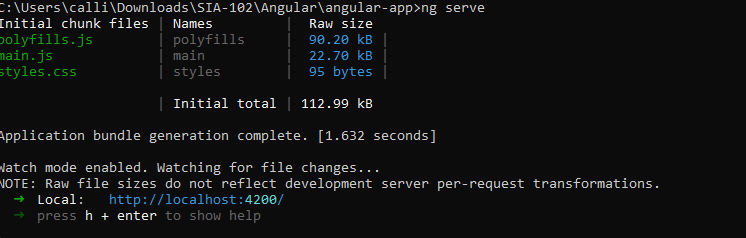
Step 3: Implementing other lists
Now you will implement 50 different lists as outlined in the task. The process for each list is similar, where you define an array to hold the items and a method to add new items dynamically.
Here’s how to do it for the first few lists:
1: Student List
Generate the component:
ng generate component student-listModify
student-list.component.ts:import { Component } from '@angular/core'; @Component({ selector: 'app-student-list', templateUrl: './student-list.component.html', styleUrls: ['./student-list.component.css'] }) export class StudentListComponent { students: string[] = ['John Doe', 'Jane Smith', 'Alice Johnson']; // Initial list of students student: string = ''; // Method to add a student to the list addStudent() { if (this.student) { this.students.push(this.student); this.student = ''; // Clear input after adding student } } }Modify
student-list.component.html:<h3>Student List</h3> <input type="text" [(ngModel)]="student" placeholder="Enter student name" /> <button class="btn btn-primary" (click)="addStudent()">Add Student</button> <ul> <li *ngFor="let student of students"> {{ student }} </li> </ul>Add the component to
app.component.html:<app-student-list></app-student-list>
Repeat similar steps for the other lists. Each time, you can modify the names and arrays accordingly (e.g., "Employee List", "Fruit List", etc.).
ng generate component components/employeeList
ng generate component components/fruitList
ng generate component components/courseList
ng generate component components/bookList
ng generate component components/cityList
ng generate component components/movieList
ng generate component components/carmodelList
ng generate component components/productList
ng generate component components/subjectList
ng generate component components/countryList
ng generate component components/sportsList
ng generate component components/vegetableList
ng generate component components/animalList
ng generate component components/toolList
ng generate component components/languageList
ng generate component components/gameList
ng generate component components/softwareList
ng generate component components/phonecontactList
ng generate component components/musicPlaylist
ng generate component components/foodMenu
ng generate component components/groceryList
ng generate component components/classroomList
ng generate component components/inventoryList
ng generate component components/lectureList
ng generate component components/stationaryList
ng generate component components/flowerList
ng generate component components/destinationList
ng generate component components/laptopList
ng generate component components/laptopspecipicationsList
ng generate component components/computerhardwareList
ng generate component components/mobileappList
ng generate component components/videoList
ng generate component components/tvshowList
ng generate component components/furnitureList
ng generate component components/accessoryList
ng generate component components/buildingList
ng generate component components/paintingList
ng generate component components/artistList
ng generate component components/composerList
ng generate component components/podcastList
ng generate component components/exerciseList
ng generate component components/mealplanList
ng generate component components/budgetList
ng generate component components/presentationList
ng generate component components/tourList
ng generate component components/eventList
ng generate component components/developertoolList
ng generate component components/frameworkList
ng generate component components/libraryList
Step 4: Commit and push to GitHub
Initialize Git and create a new repository on GitHub if you haven't already:
 git init
 git remote add origin <your-repository-url>
Commit each feature as you implement it. For example:
 git add .
 git commit -m "#1studentlist "
 git push origin main
Repeat the process for each list you create. Commit after each list is added.
Step 5: Deploy to Firebase Hosting
Install Firebase CLI:
npm install -g firebase-tools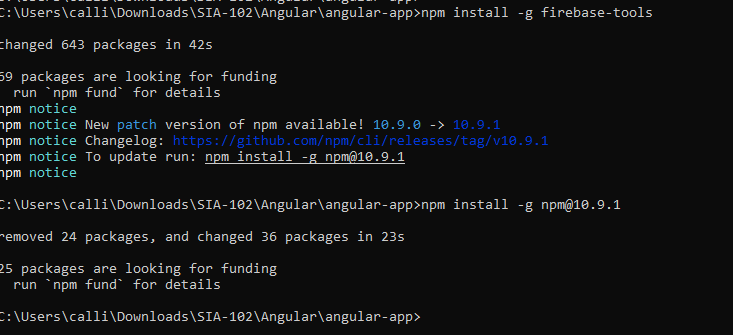
Enable web frameworks
firebase experiments:enable webframeworks
Login to Firebase:
firebase login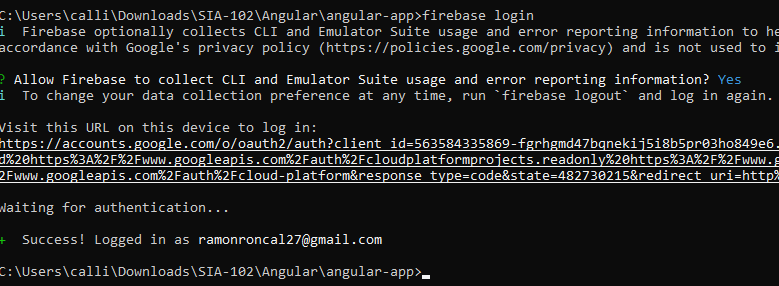
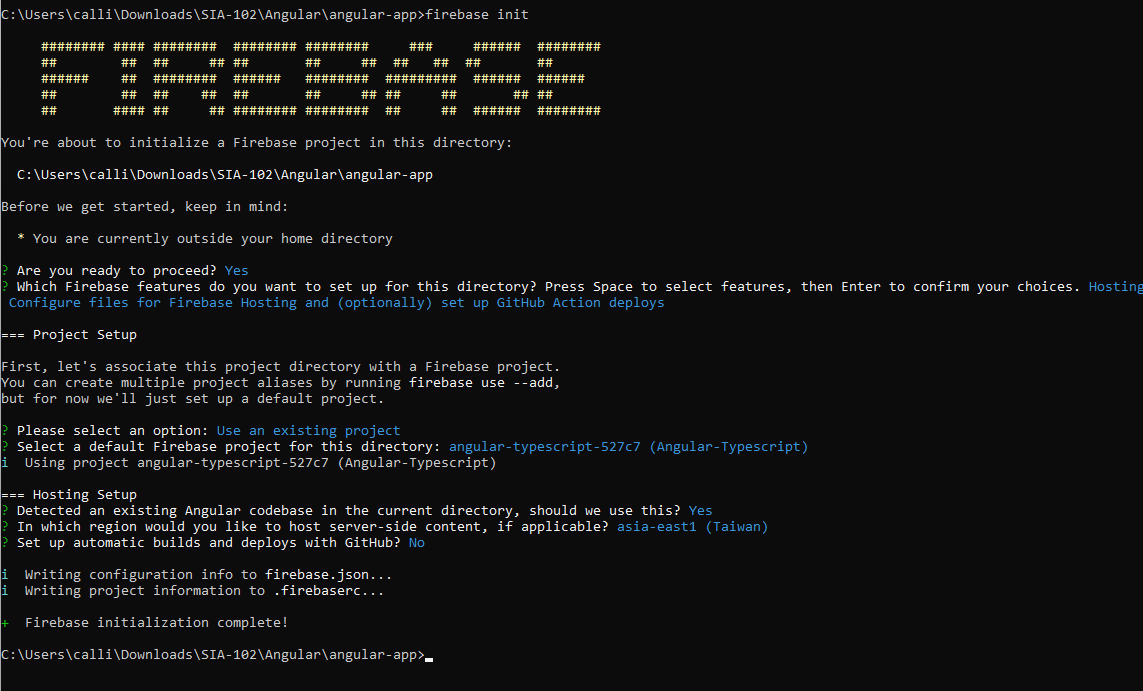
Initialize Firebase in your project:
firebase initSelect "Hosting" when prompted.
Choose the
dist/folder as the public directory.Configure as a single-page app (SPA).
Build your Angular project:
ng build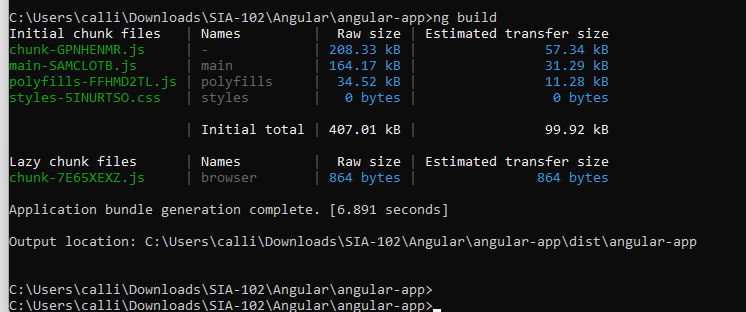
Deploy to Firebase:
firebase deploy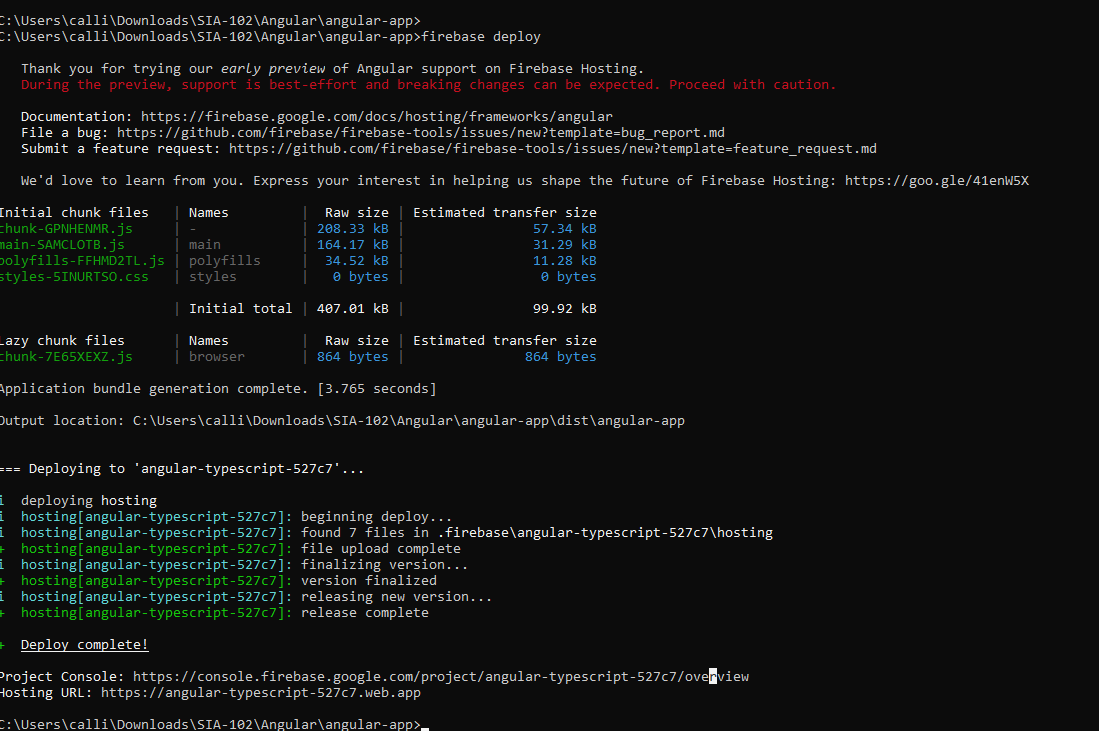
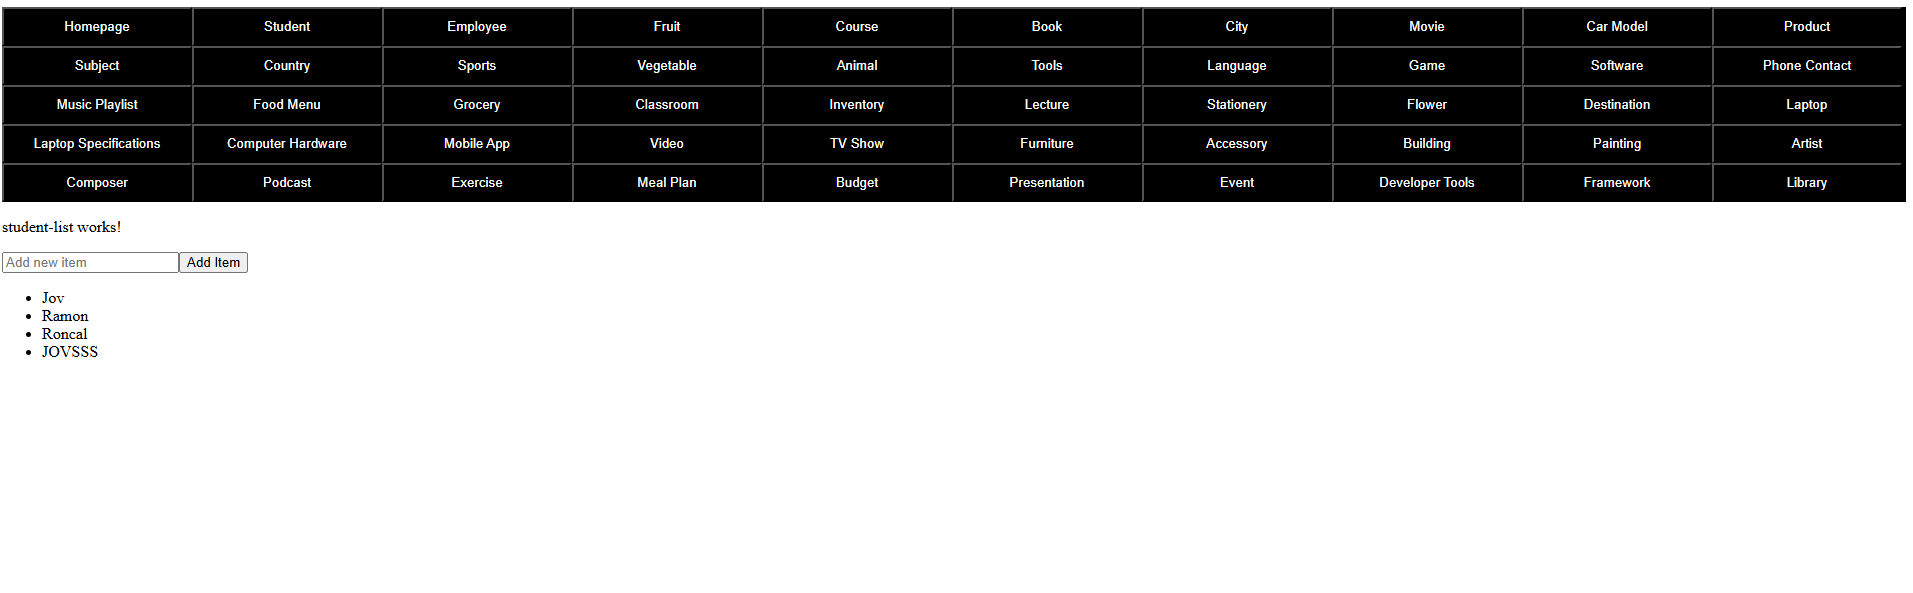
After deployment, Firebase will provide a URL where your application is hosted.