Activity 49: Python Flask API with SQLALCHEMY integration
Step 1: Fork the Repository
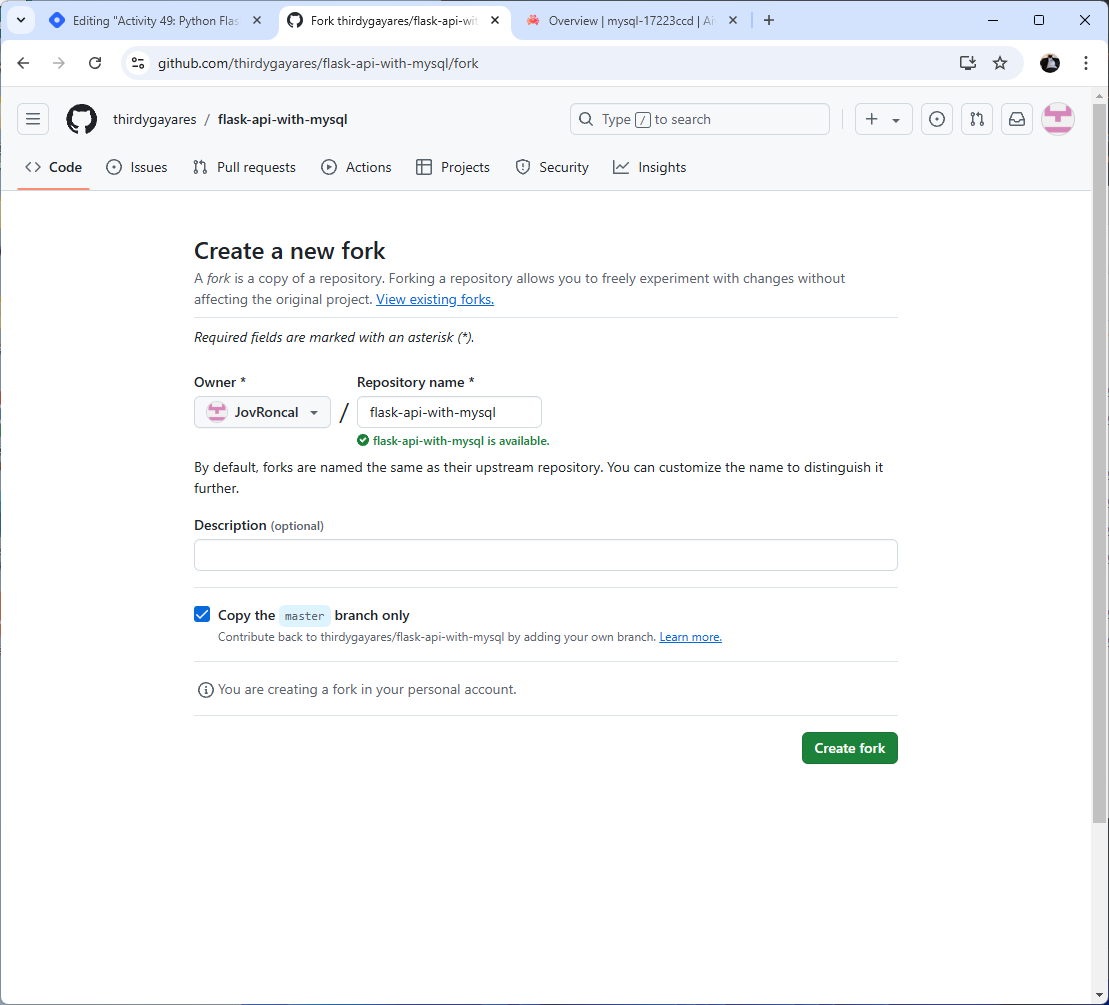
Go to the GitHub repository: Visit the repository
thirdygayares/restaurant_menuon GitHub.Fork the Repository:
On the top-right corner of the repository page, click the Fork button.
Choose your GitHub account to fork the repository to.
Step 2: Clone Your Repository
After forking the repository, clone it to your local machine.
Open a terminal or command prompt, and run the following command (replace
your-usernamewith your GitHub username):git clone https://github.com/JovRoncal/flask-api-with-mysql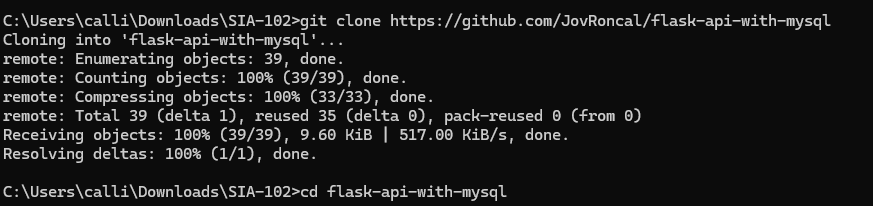
Navigate to the project directory:
cd <project-name>
Step 3: Set Up the Project
A. Create a Virtual Environment
In the terminal, create a new virtual environment. This is essential to isolate your project's dependencies from the global Python environment.
For macOS/Linux:
python -m venv venvFor Windows:
python -m venv venv
Activate the virtual environment:
For Windows:
venv\Scripts\activate
B. Install Requirements
With the virtual environment activated, install the necessary dependencies using the
requirements.txtfile.pip install -r requirements.txt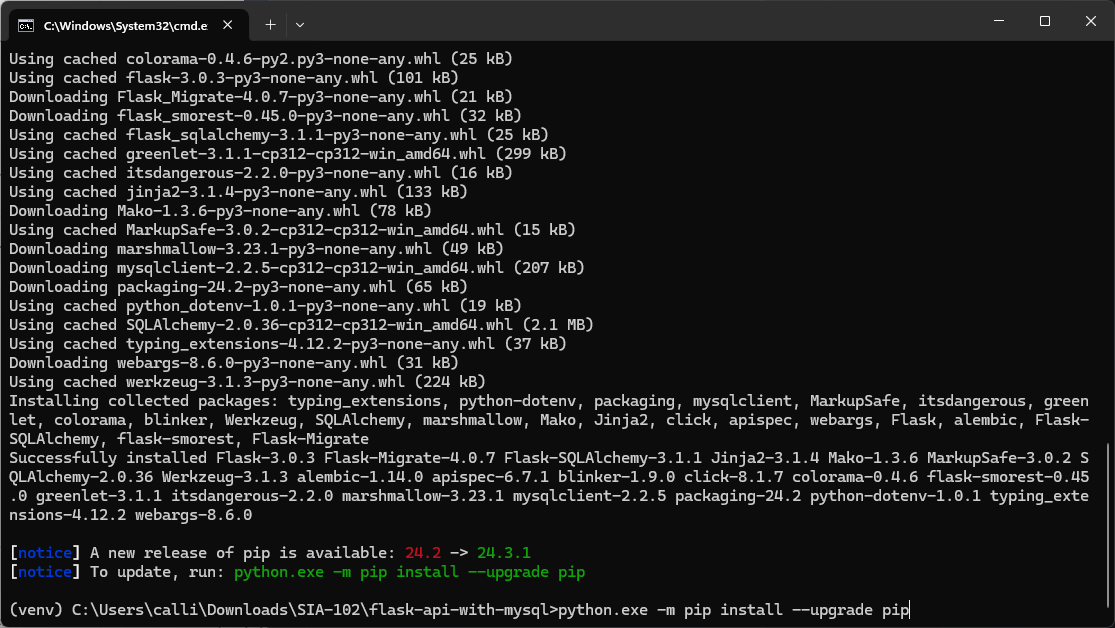
C. Add .env File
Create a
.envfile in the root of the project directory.Add the following environment variables to the
.envfile:FLASK_ENV=development DATABASE_URL=mysql://avnadmin:{password}@{host}:{port}/{databasename1} SECRET_KEY=your_secret_key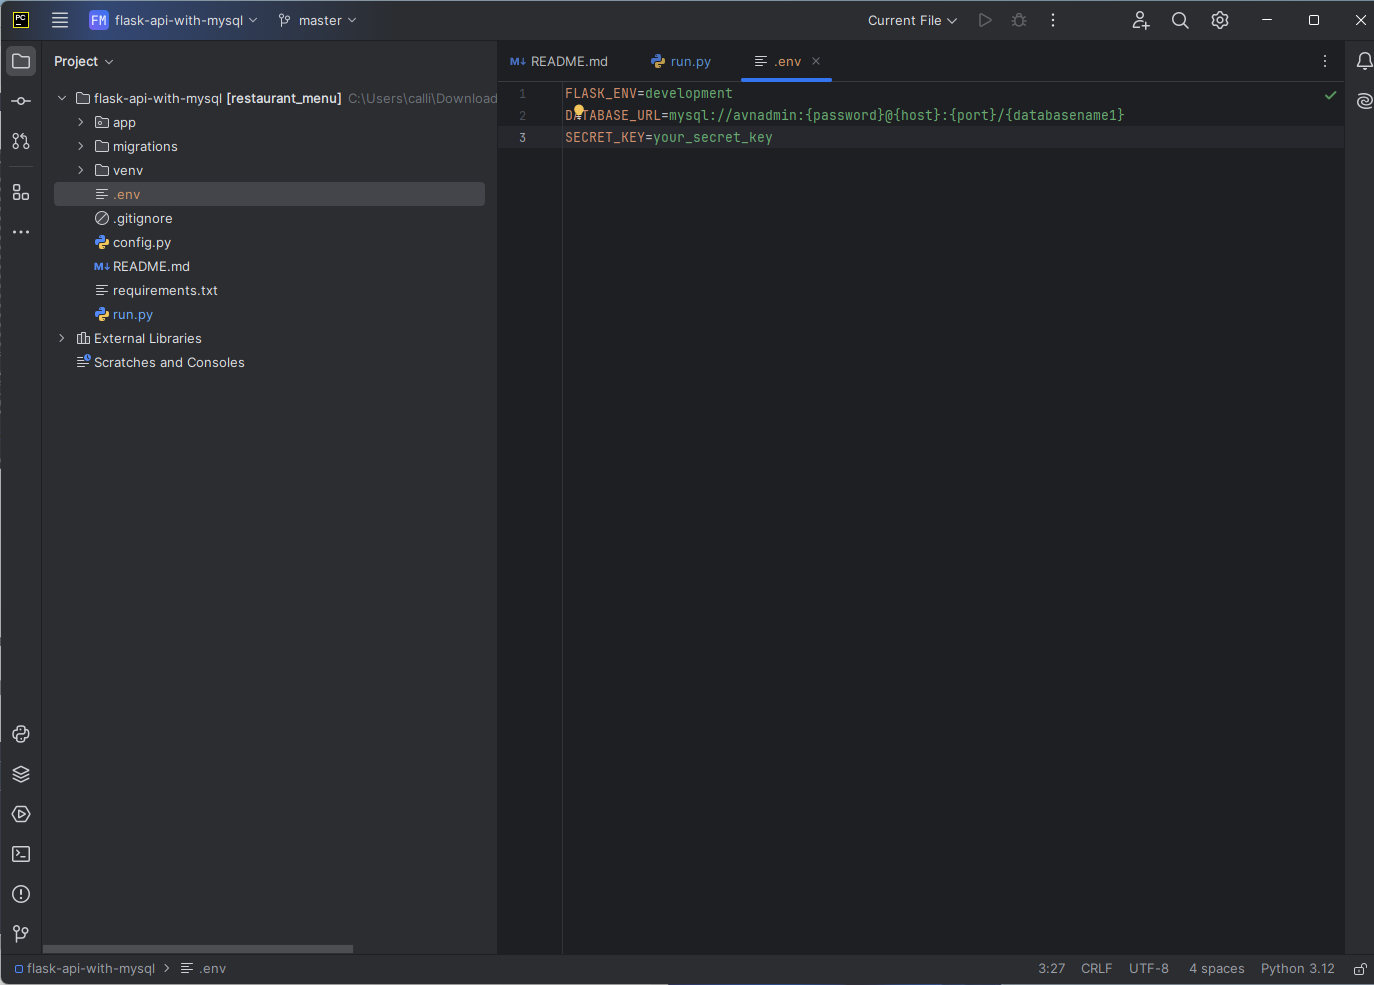
Replace
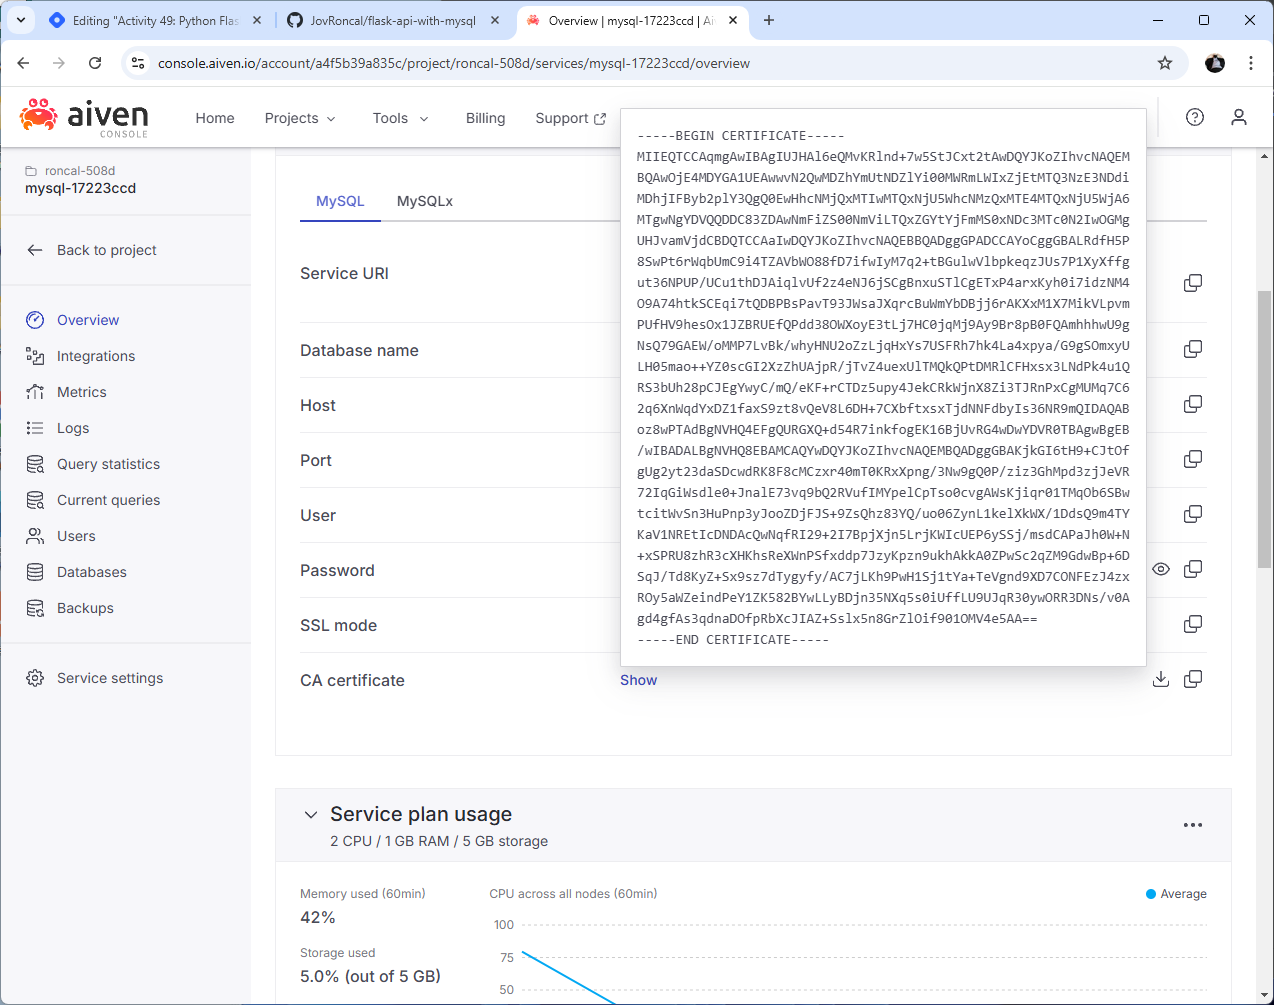
{password},{host},{port}, and{databasename1}with the appropriate values from your Aiven MySQL database.SECRET_KEYshould be a secret string (you can generate one randomly).
D. Copy Certs to app/certs
- Copy any required certificate files (if needed) to the
app/certsdirectory.
E. Run Database Migrations
In the terminal, navigate to the project directory and run:
flask db upgradeThis will apply any database migrations to set up the tables required by the application.

F. Run the Application
To run the application, execute the following command:
python run.pyThis will start the Flask application on
http://127.0.0.1:5000/.
Step 4: Create a Database in Aiven
Log into your Aiven account: Go to the Aiven dashboard at Aiven.
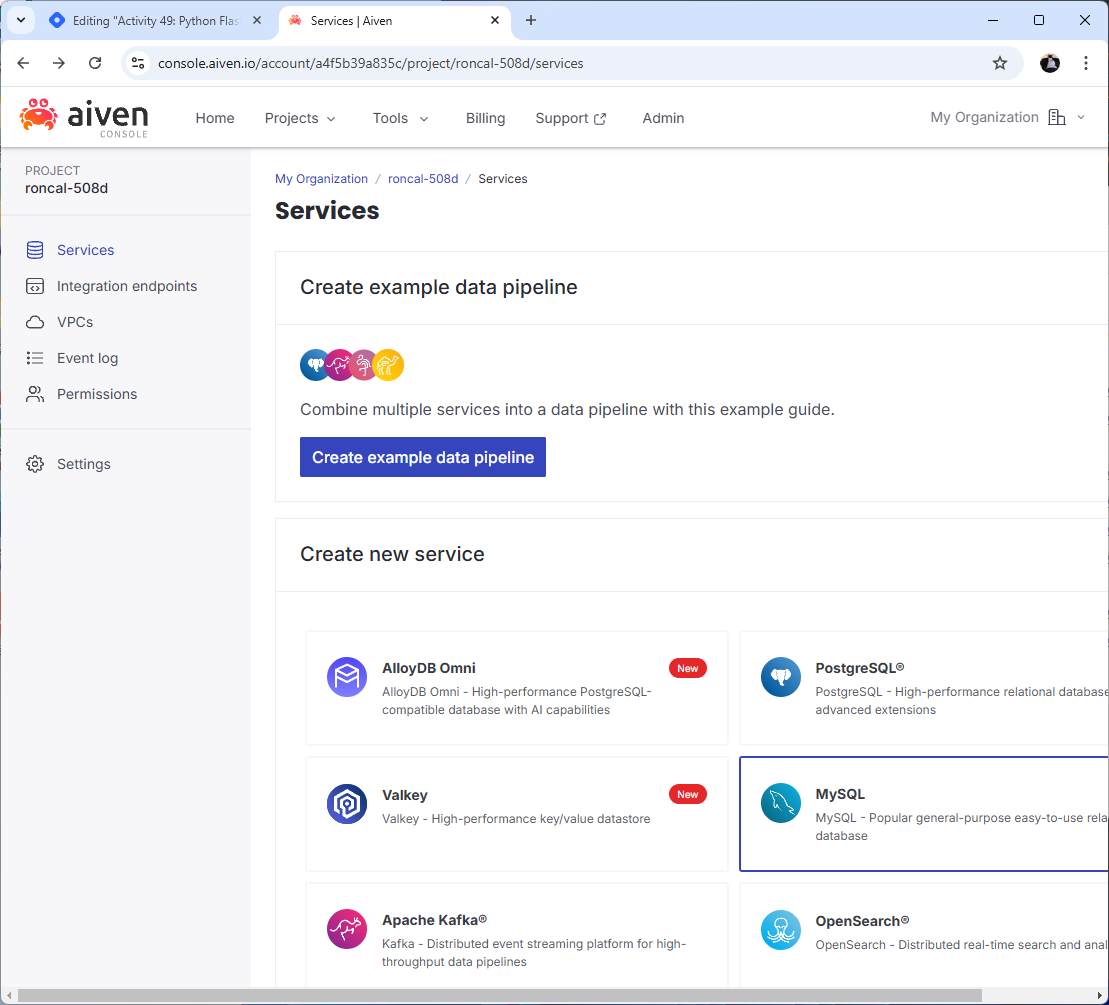
Create a New Database:
Choose the MySQL service.
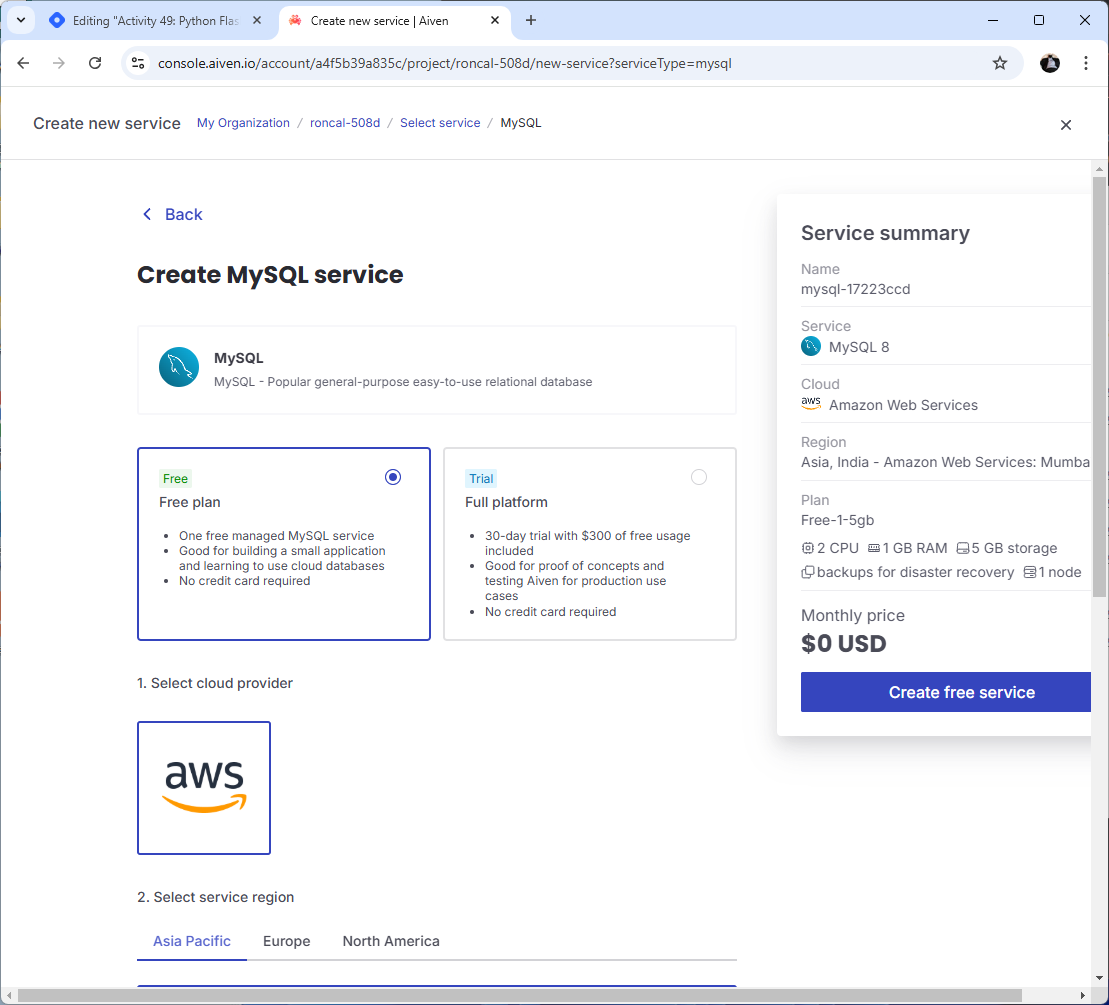
Enter a database name (e.g.,
databasename1).Follow the Aiven setup process to complete the database creation.
Get Database Connection Details:
After setting up the database, you’ll get a connection URL in the format:
mysql://avnadmin:{password}@{host}:{port}/{databasename1}Use this connection URL in your
.envfile.
Step 5: Code Explanation and Postman Testing
Code Overview
run.py: This file runs the Flask application and serves it on the specified port (5000by default).Database Models: The code likely uses SQLAlchemy for database interaction. The models define the structure of tables and relationships in the database (e.g.,
Usermodel).API Routes: Routes are defined in
app/routes.pyor similar, handling HTTP requests likeGET,POST,PUT, etc., for interacting with theUserresource.
Postman Testing
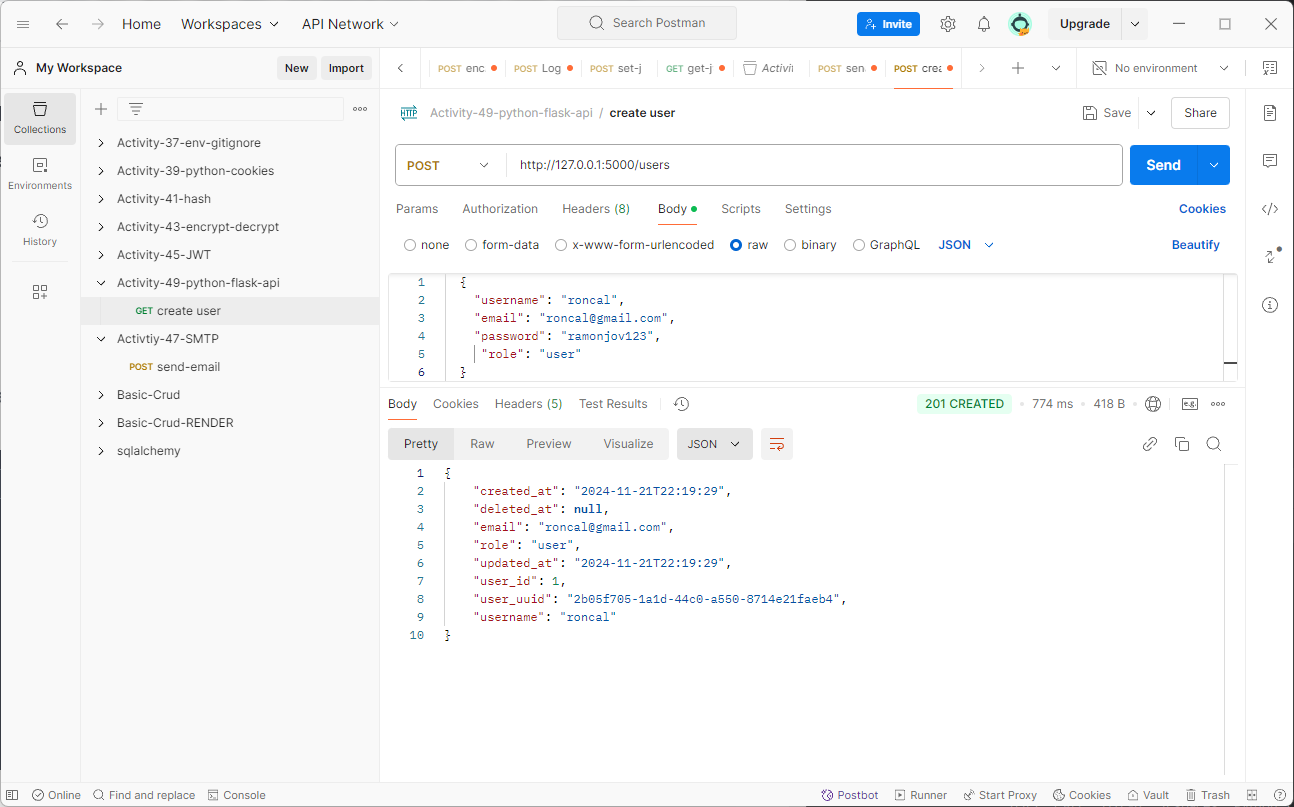
Create User in Postman:
Open Postman and create a new
POSTrequest.Set the URL to
http://127.0.0.1:5000/users.In the "Body" tab, select raw and choose JSON as the format.
Add the user data (similar to the example above) and send the request.
If successful, you should get a response with the created user’s data, including their ID.
    {
      "username": "roncal",
      "email": "roncal@gmail.com",
      "password": "ramonjov123",
       "role": "user"
    }
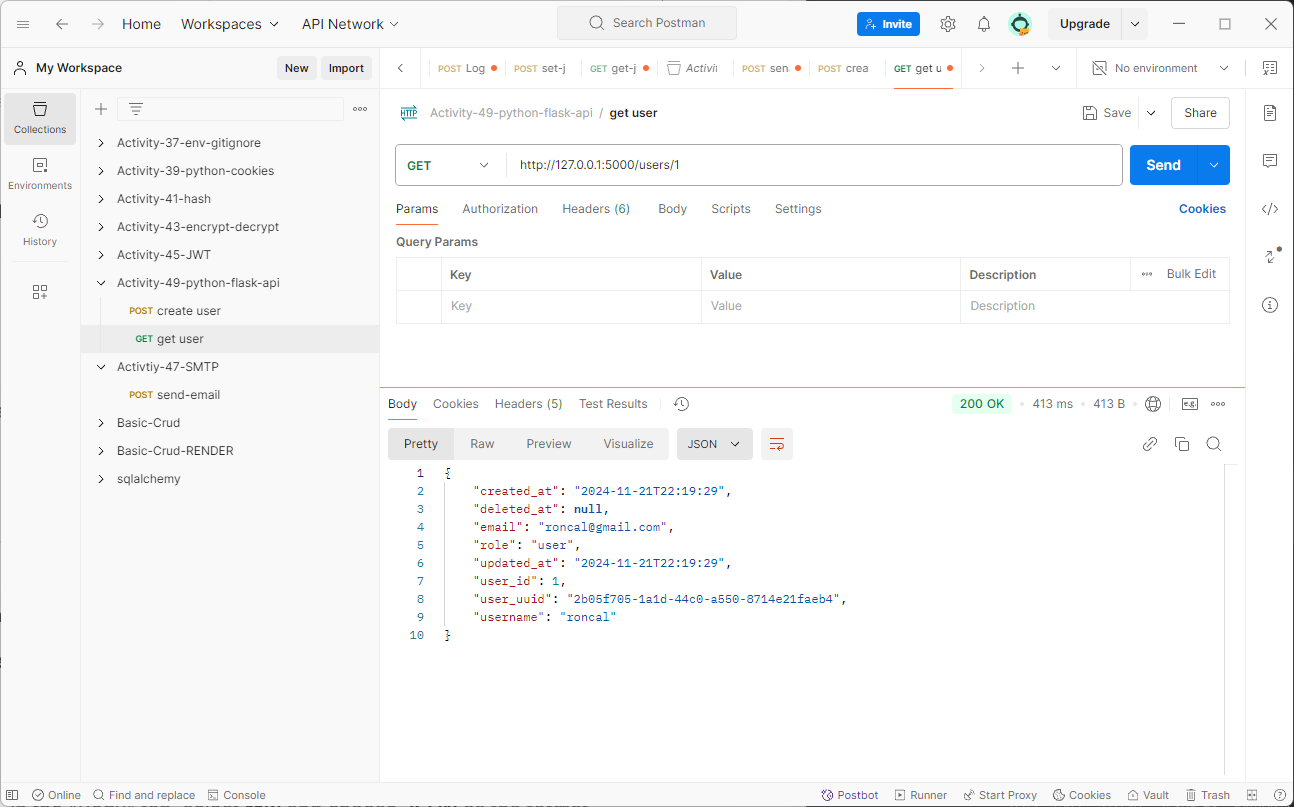
Get User by ID in Postman:
Create a new
GETrequest.Set the URL to
http://127.0.0.1:5000/users/4(or another ID you want to query).Send the request and verify that you get the user details for the given ID.